Small Beetle Protocol
For beetles mounted on points that require higher magnification:
EXAMPLE IMAGE: this photo cannot be used due to the limited number of pixels that each beetle occupies, and confusion about appendages of the beetle vs background words on the labels. 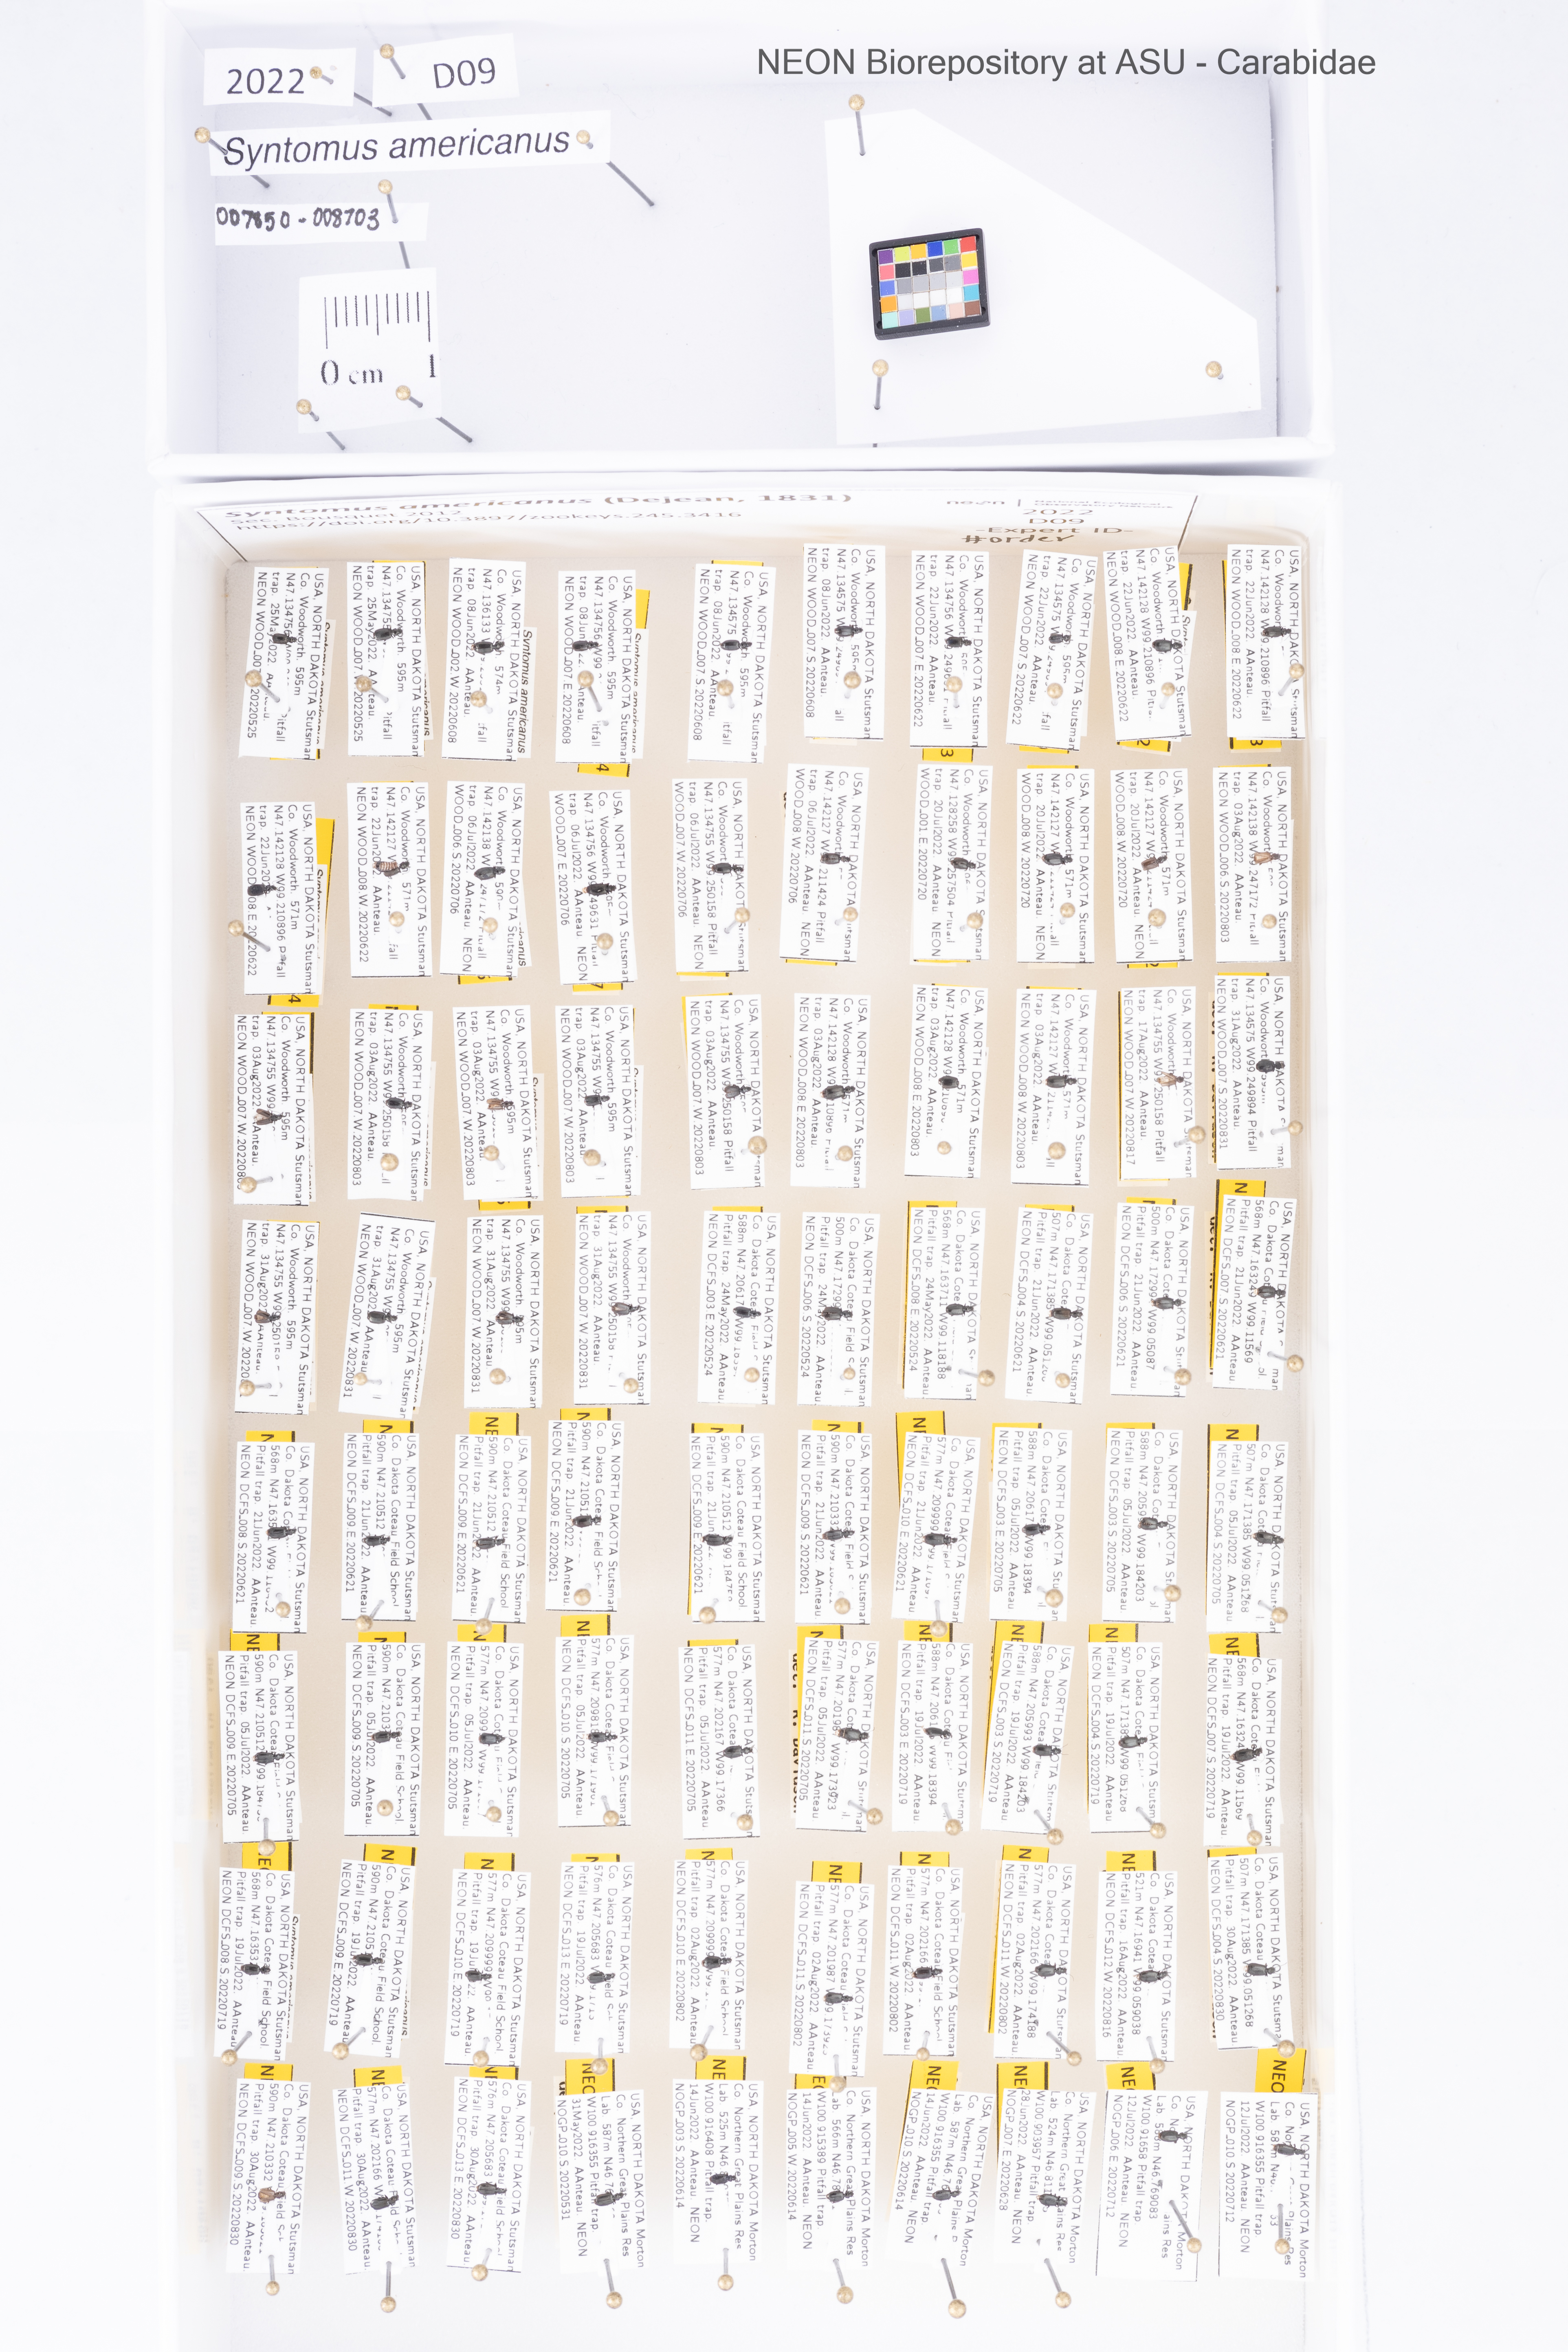 |
|---|
Equipment Setup
- Use a camera and macro lens with appropriate magnification:
- Canon EOS DSLR (model 7D).
- 24–105 mm macro lens.
- Use B Tray for rearranging A Trays where necessary.
- External flashes.
- Defusion paper, in a cone that extends from camera lens to table around tray (ref photo).
Specimen Staging
- Only B and C Trays allow for appropriate magnification.
- Include a scale bar in bottom right of the container:
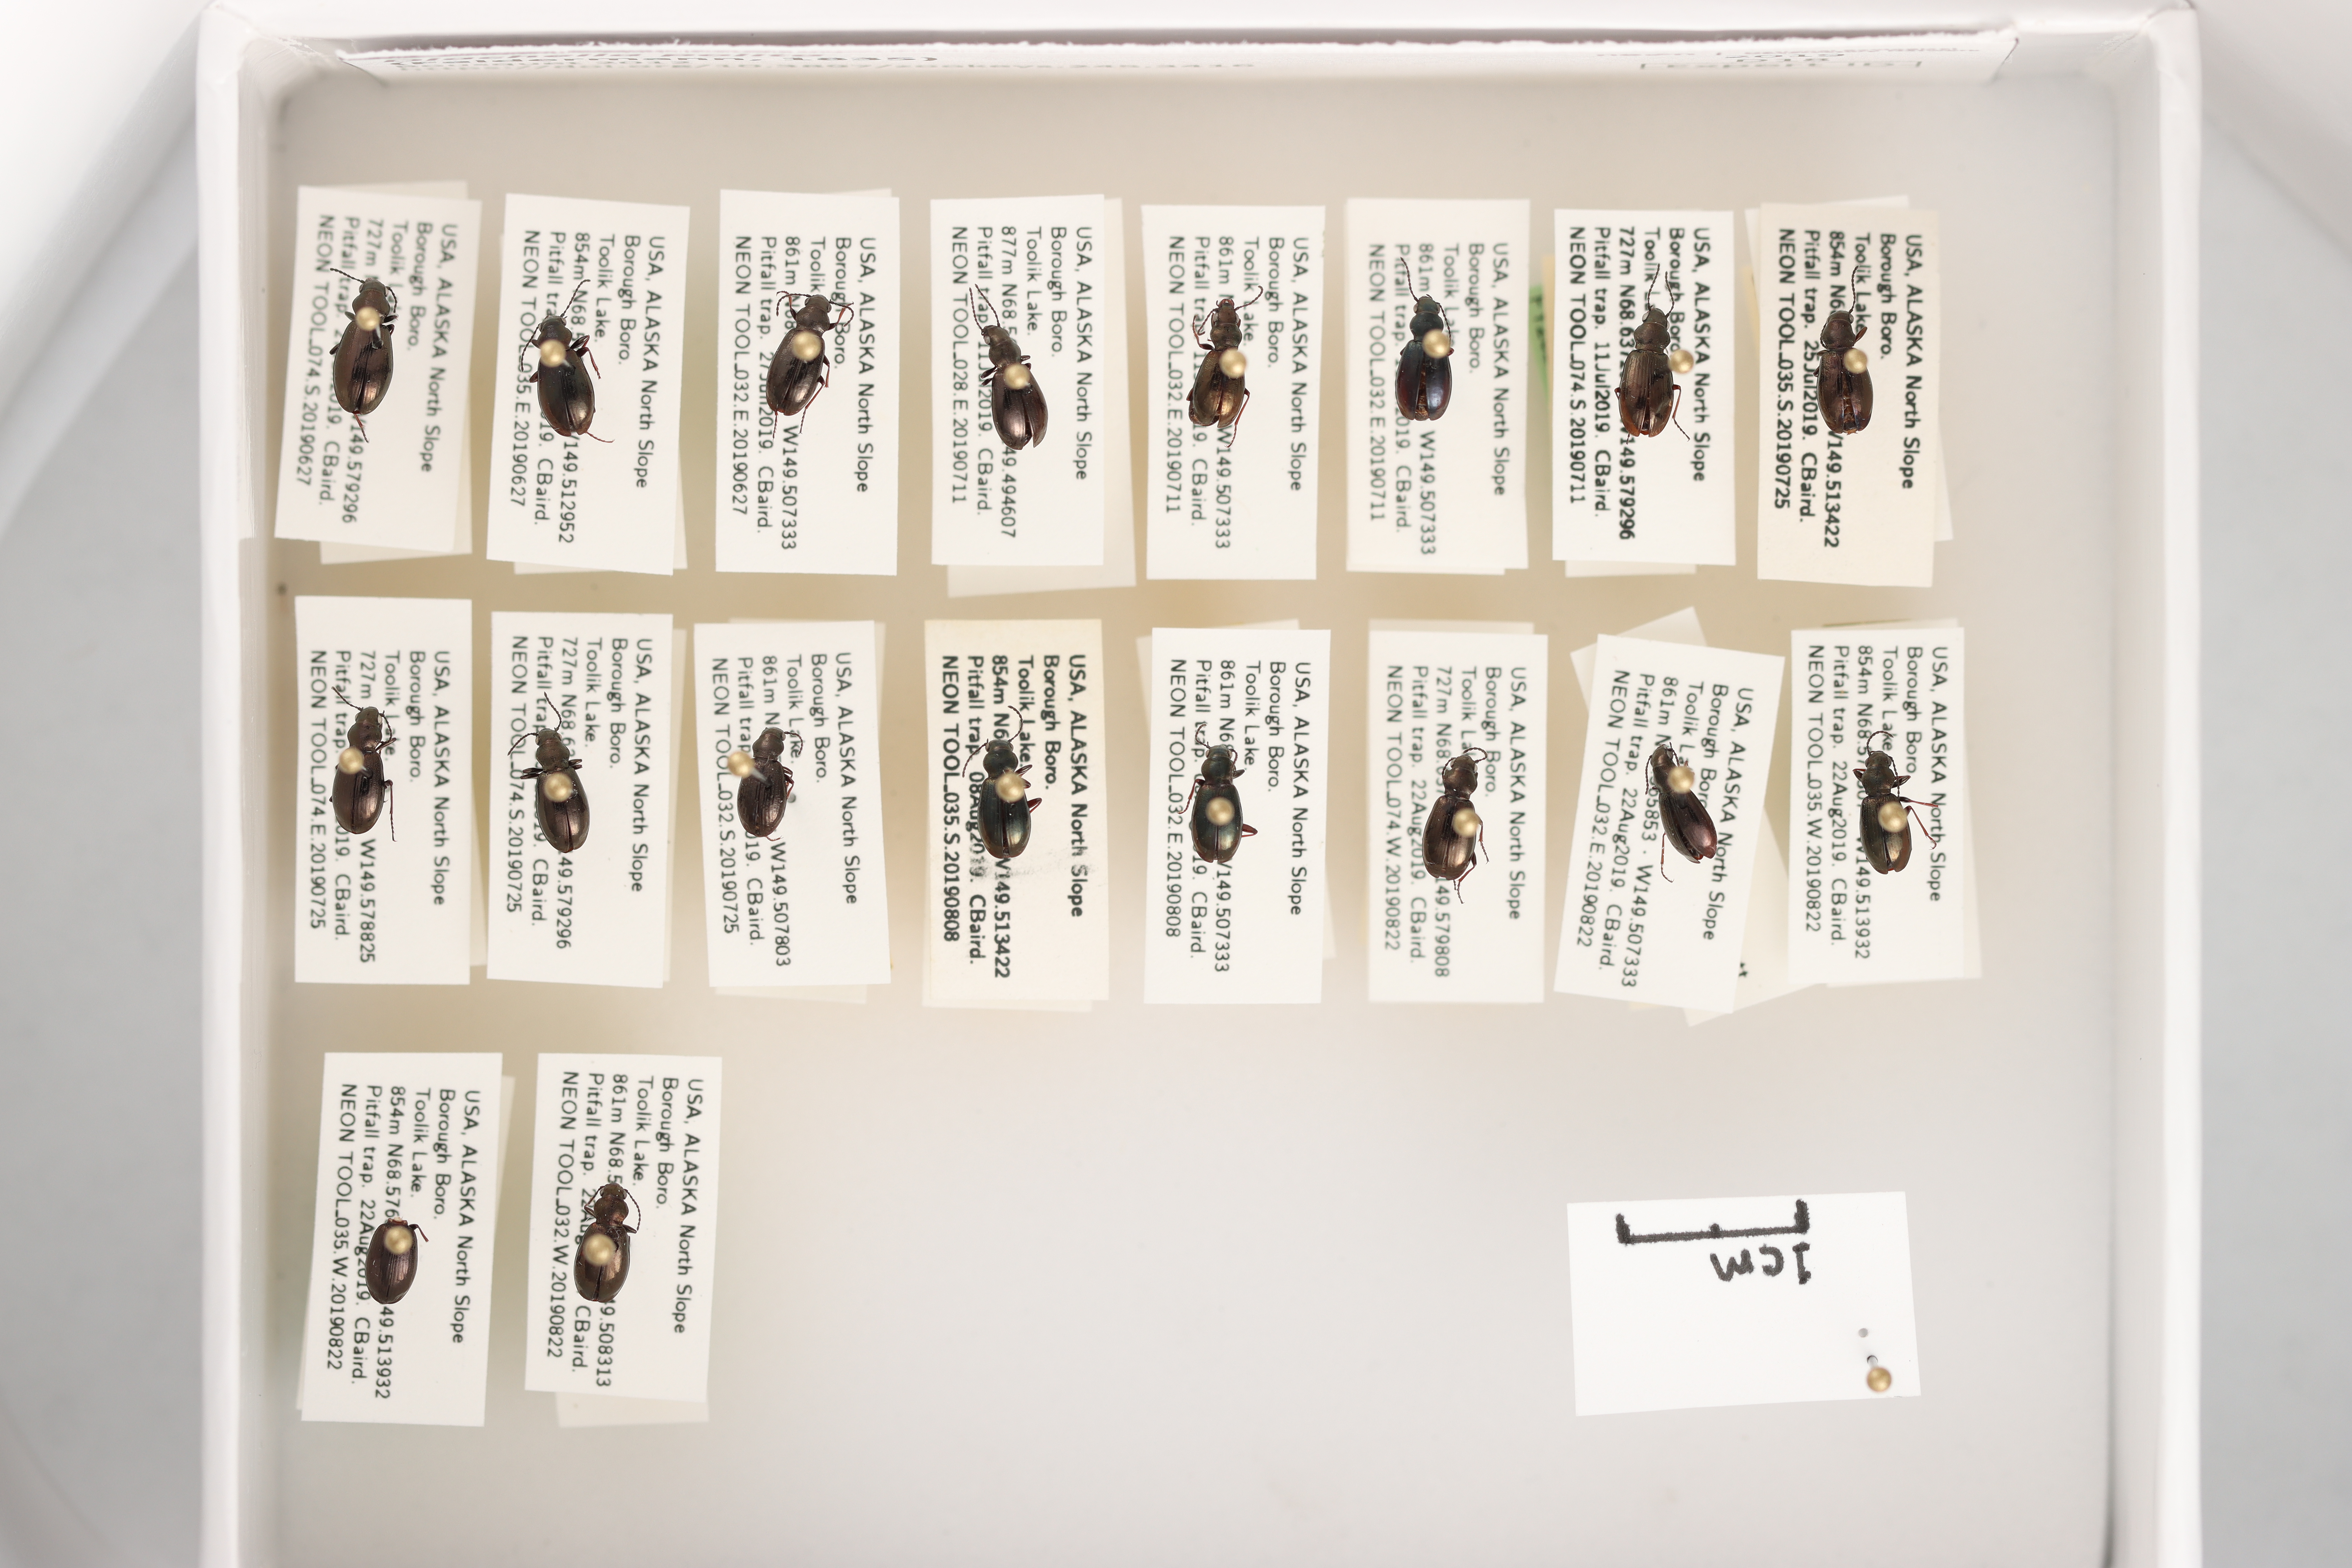
- This is where there is most likely to be room to add in a scale bar, because of way beetles are arranged from top to bottom left to right.
- Ensure that the scale bar is level with the beetles, and that all beetles are level with each other (in a single focal plane).
- This is essential to measuring the size of the beetles, if the scale bar is above or below the beetles in height, the measurement will not be correct.
- ensure beetles are sequentially based on individual ID numbers.
- Maintain consistent orientation for all specimens.
- Ensure that beetles are not on the edges of the photo to prevent distortion and poor focus. See example of poor focus: tray of small pinned beetles. The beetle in the top left of the image is surrounded by a black box with a diagonal line to a larger black box taking up most of the image, which is the beetle zoomed in and it is not in focus: gently fuzzy, particularly around the extremities and antennae. The text on the label pinned below the specimen is clearly out of focus
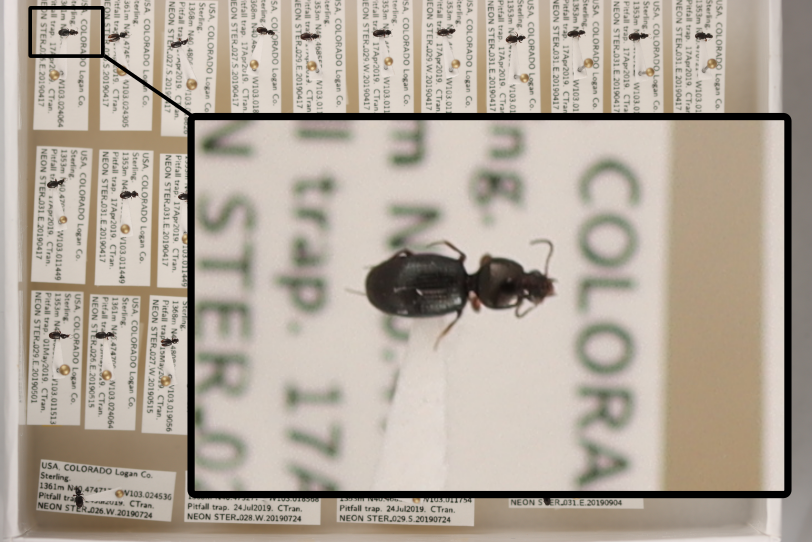
Image Capture
- Zoom into an individual beetle with the magnifying glass on the bottom right of the touch screen.
- Manually focus on the specimen.
- Use an F-stop of 5.6.
- A lower f stop decreases the depth of field, and makes the label more blurry, allowing for segmentation of the beetle from the underlying text.
- Center the beetles in the images.
- Ensure the scale bare is not on the very edge of the photo (avoid distortion).
- Use flashes on TTL (automatic).
- Ensure exposure looks good in the final image.
Metadata for Small Beetles
For small beetles there is a separate sheet in the metadata sheet called “SmallBeetles” (column values defined on ColumnNames Sheet):
- Mark: Record “yes” once the header label of the unit tray has been marked with a pen to denote that imaging has occurred.
- If beetles need to be temporarily moved from an A Tray to a B Tray for imaging, record B under trayType add “From A tray” to the notes column, if they are permanently moved to a B tray, no note is necessary.
- In some cases, you will not have 4 beetles for the individual ID records, in this case do the following:
- 1 Beetle: Record the IndividualID in IndividualID_1 and enter NA to other columns.
- 2 Beetles: Record the IndividualID in IndividualID_1 and IndividualID_n and enter NA the middle columns (this is very important for querying).
- 1 Beetles: Record the IndividualIDs in IndividualID_1, IndividualID_2 and IndividualID_n and enter NA the middle column (this is very important for querying).